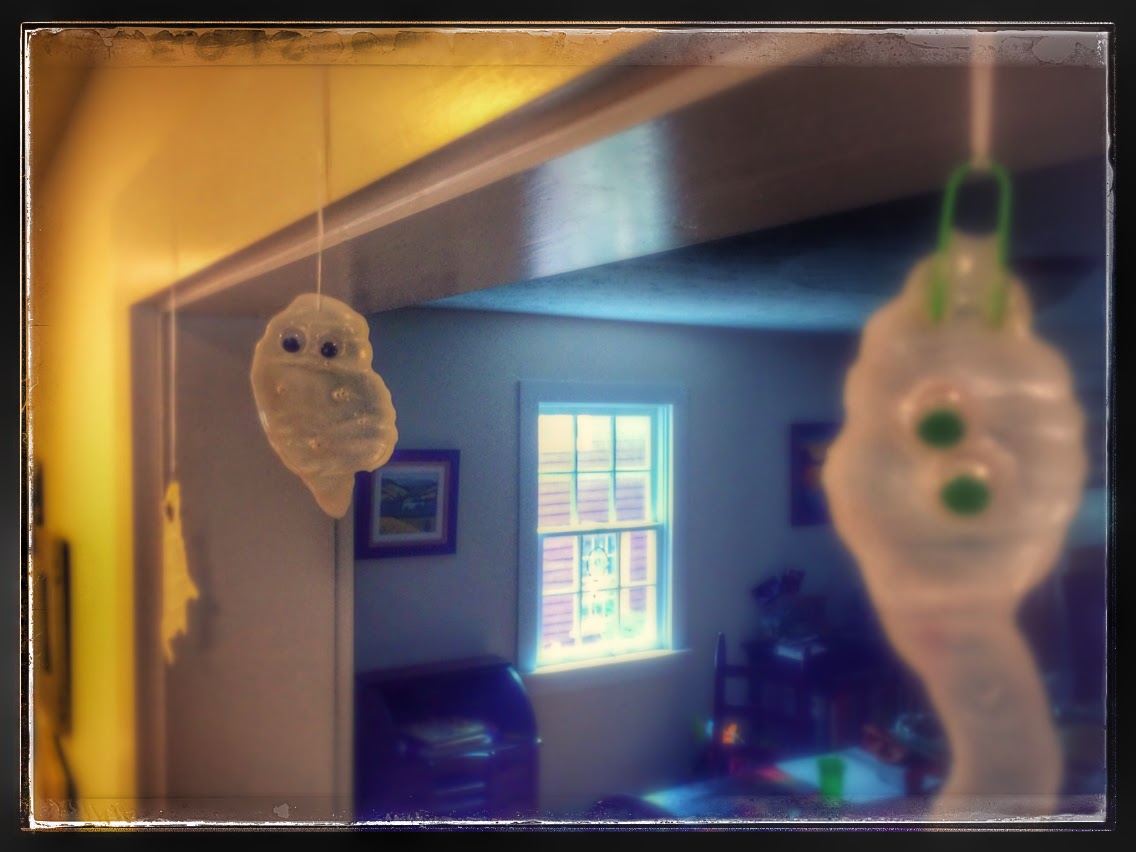
Did you ever make these "glue ghosts" when you were a kid? They were always one of my favorites! This must be one of the simplest Halloween crafts out there! L and I made extras this year so we'd have plenty to make a ghost garland decoration and to make ghost necklaces.

Materials needed:
-wax paper
-Elmer's glue
-googlie eyes (or permanent markers)
-paperclips (optional)
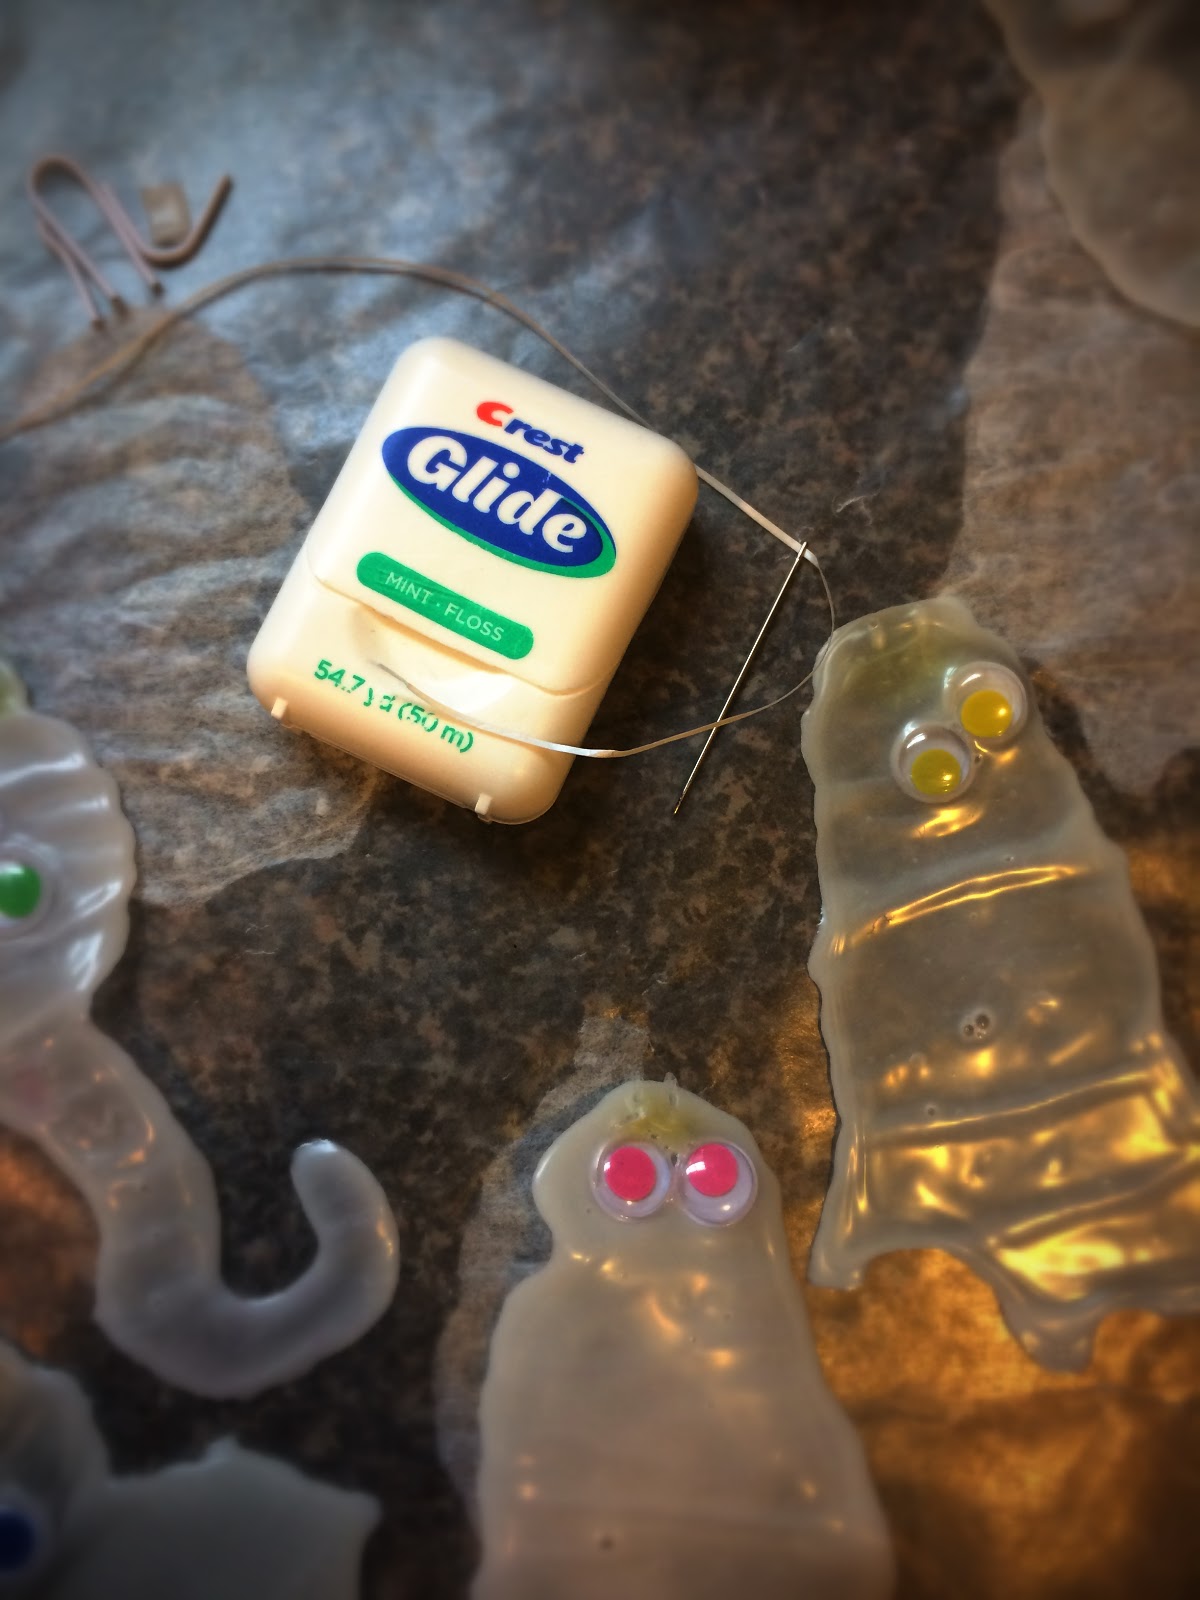
-needle and thread, string or dental floss
First, spread out a piece of wax paper over your working surface. You may want to do this on a silicone cutting board or a tray so it can be moved. (I had no idea that wax paper was slightly porous...when we did this craft the glue seeped through the wax paper a bit and stuck to our kitchen counter. It was no problem, cause Elmer's glue washes off easily, but the project was stuck to our counter for a few days while we waited for the ghosts to dry. Ha! Just another beautiful mess!)
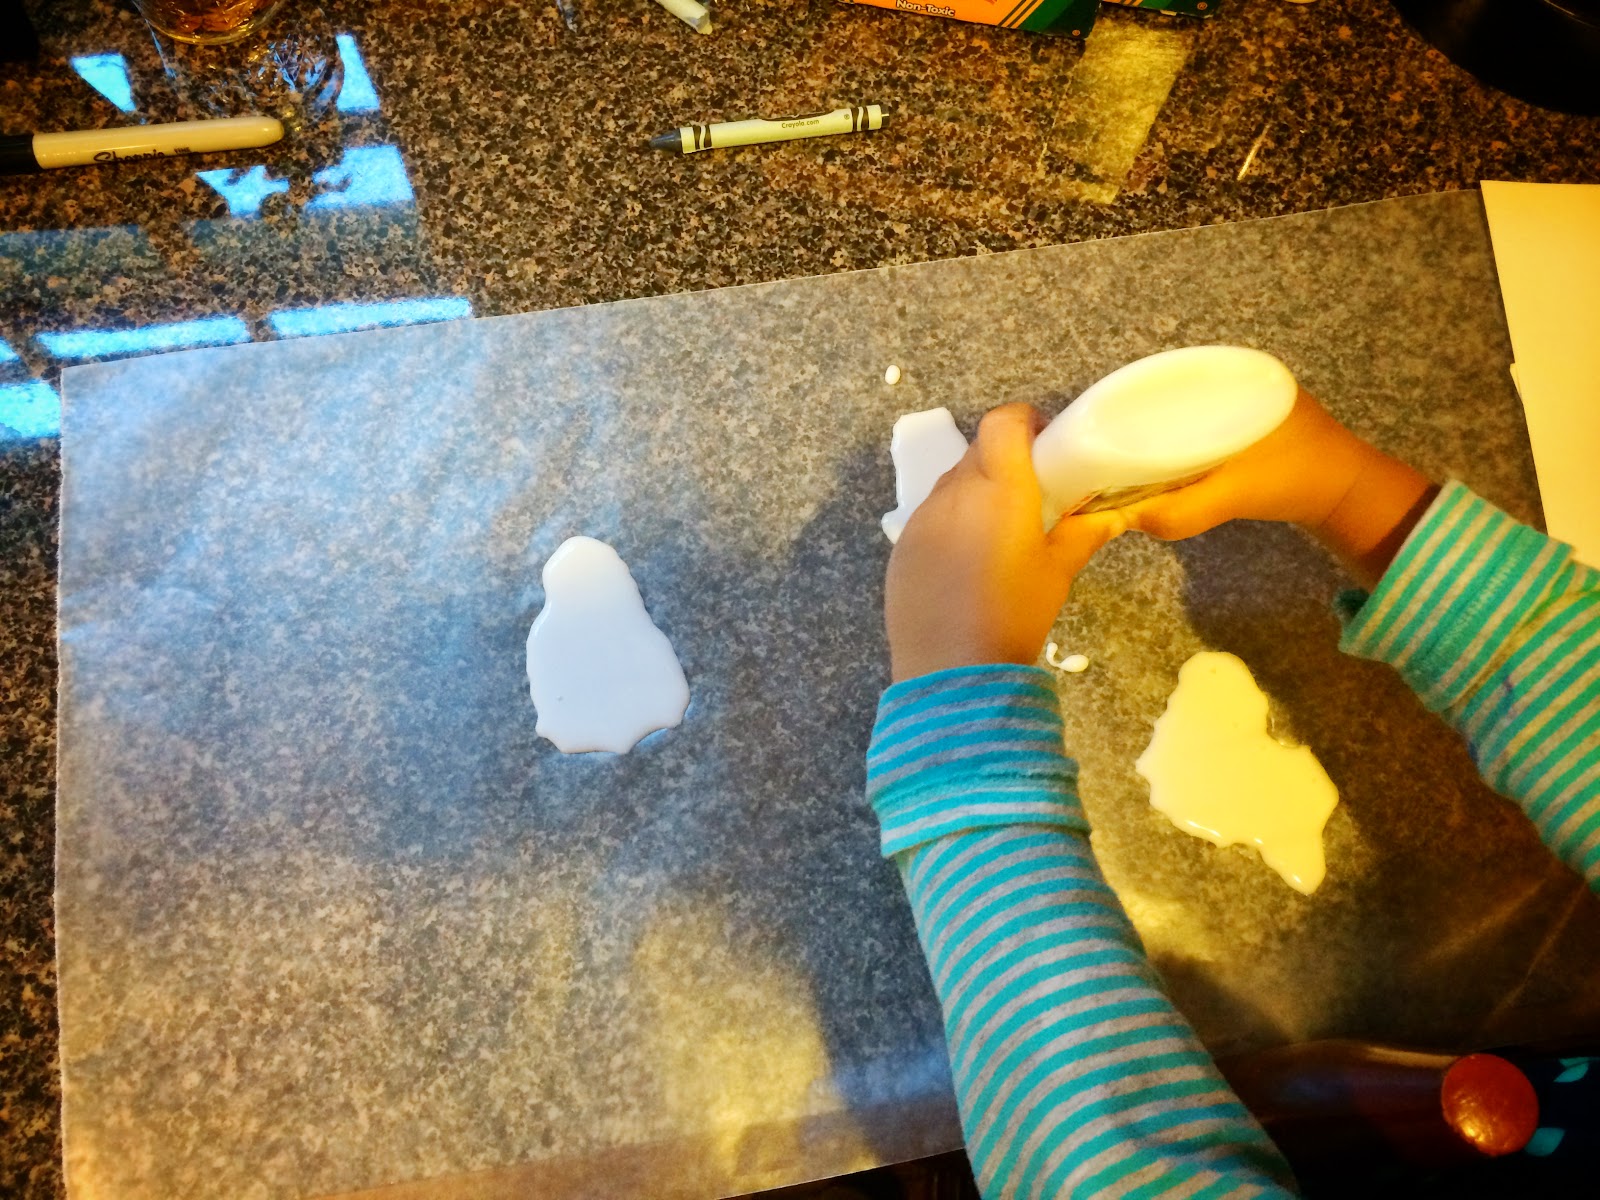
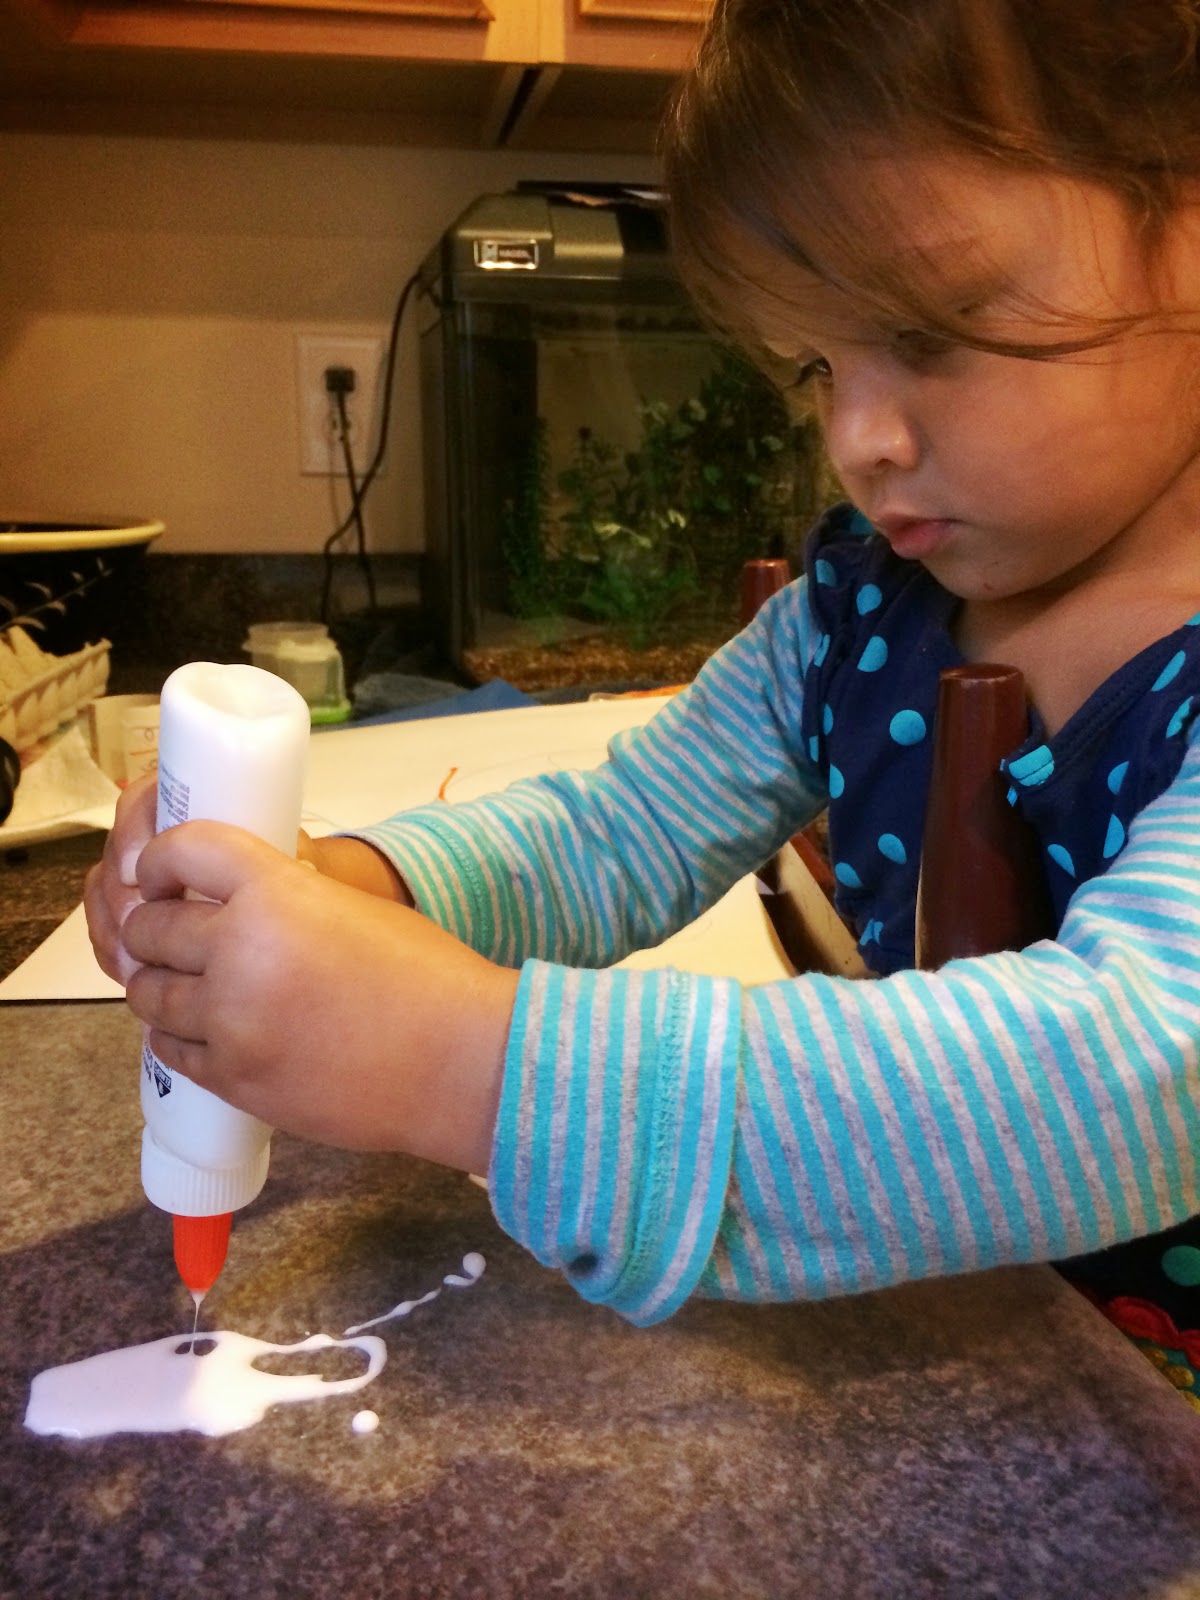
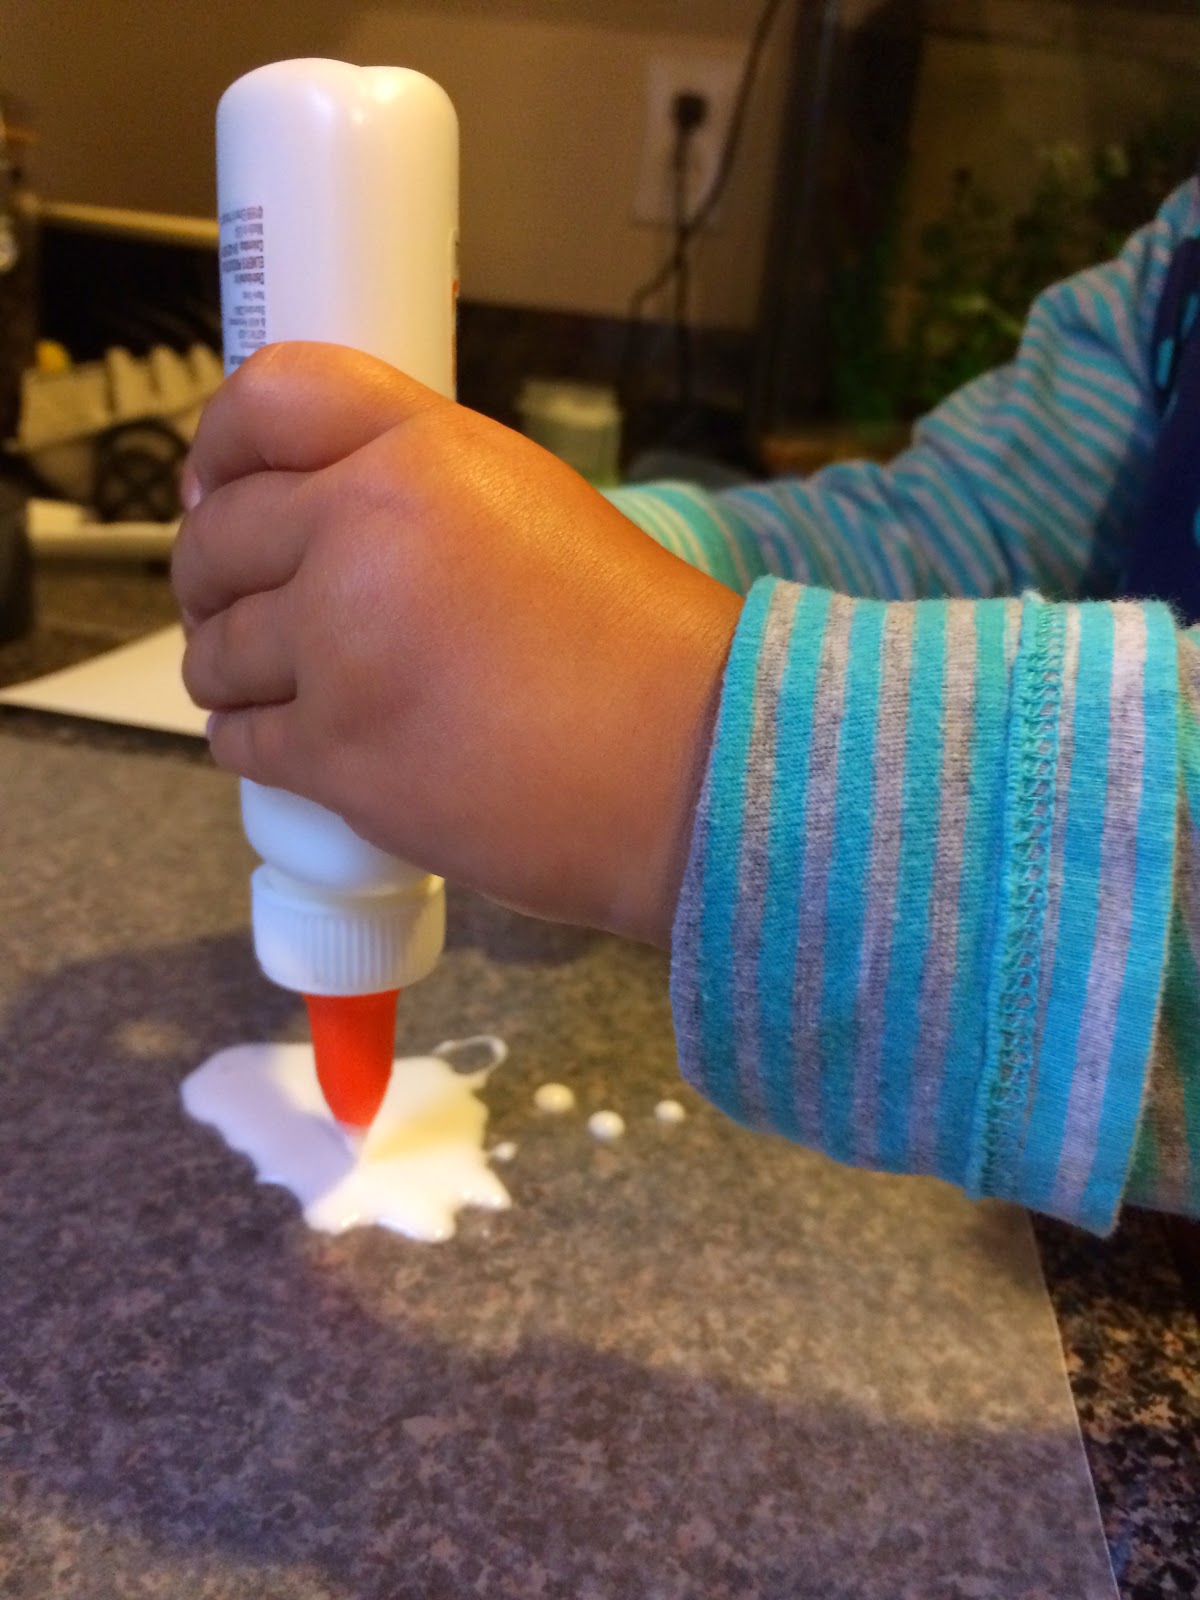
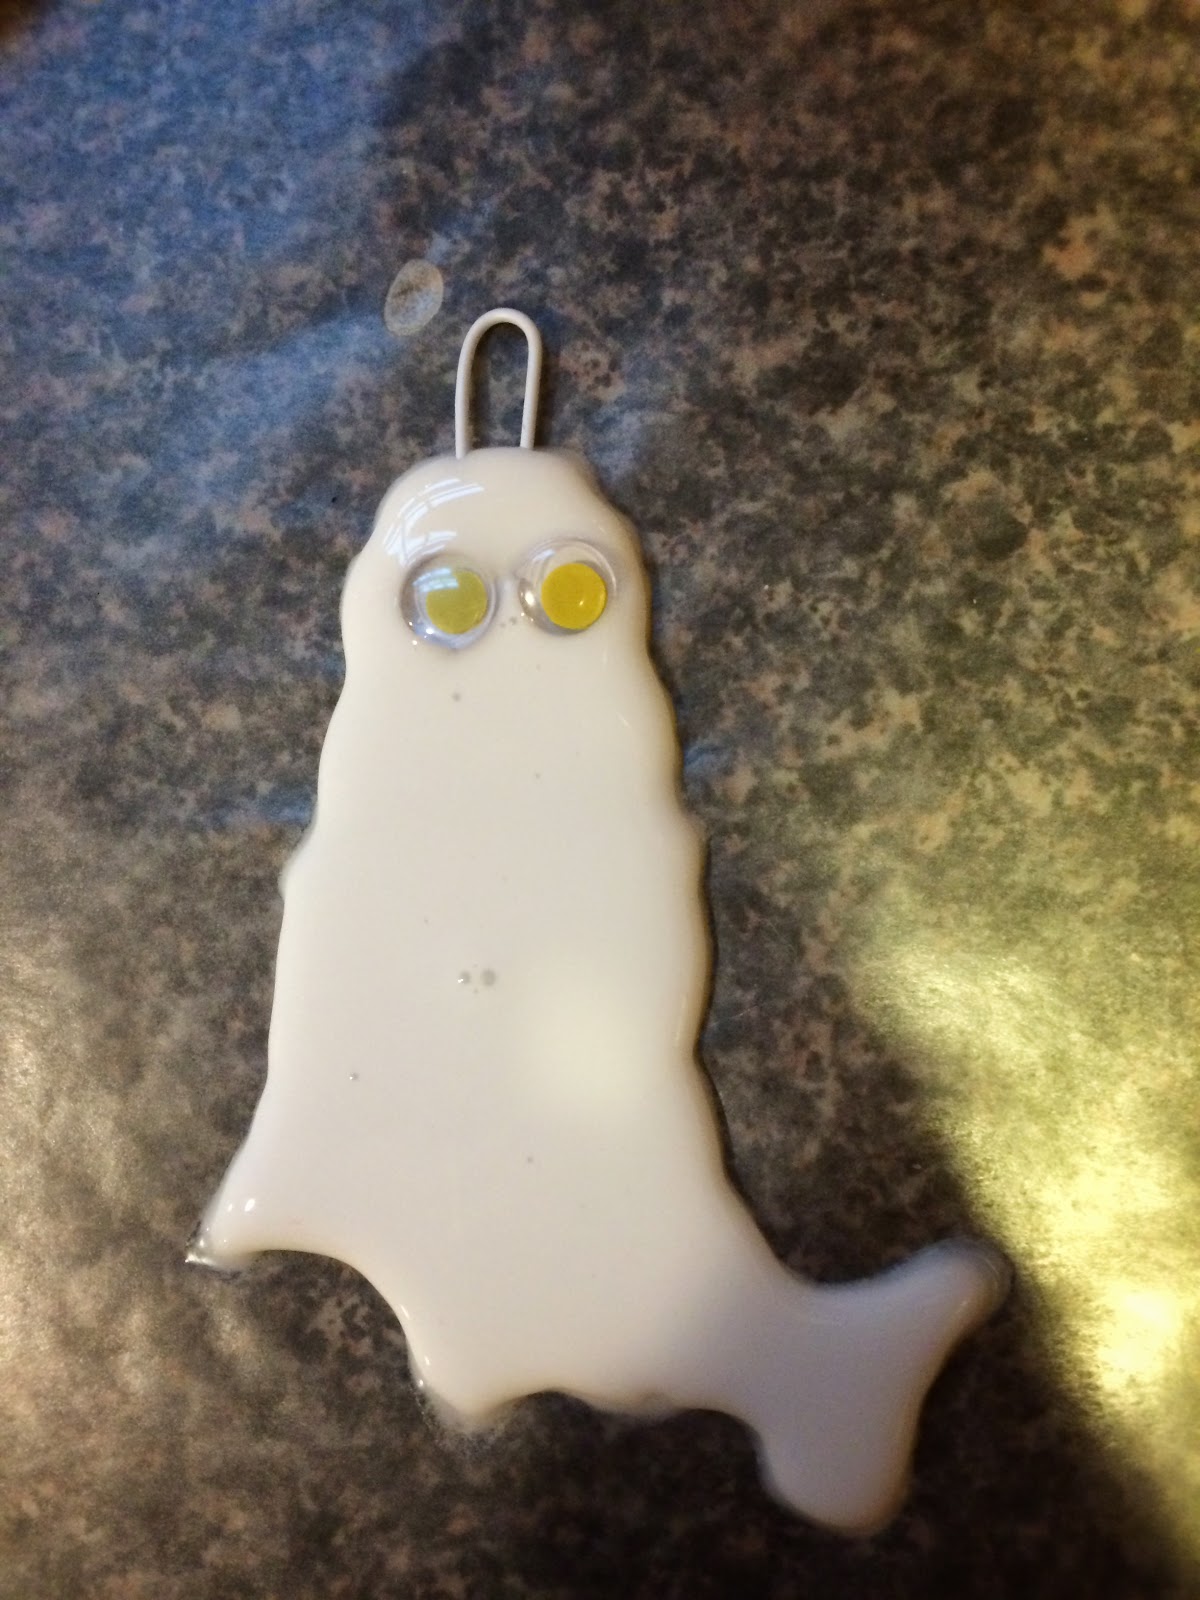
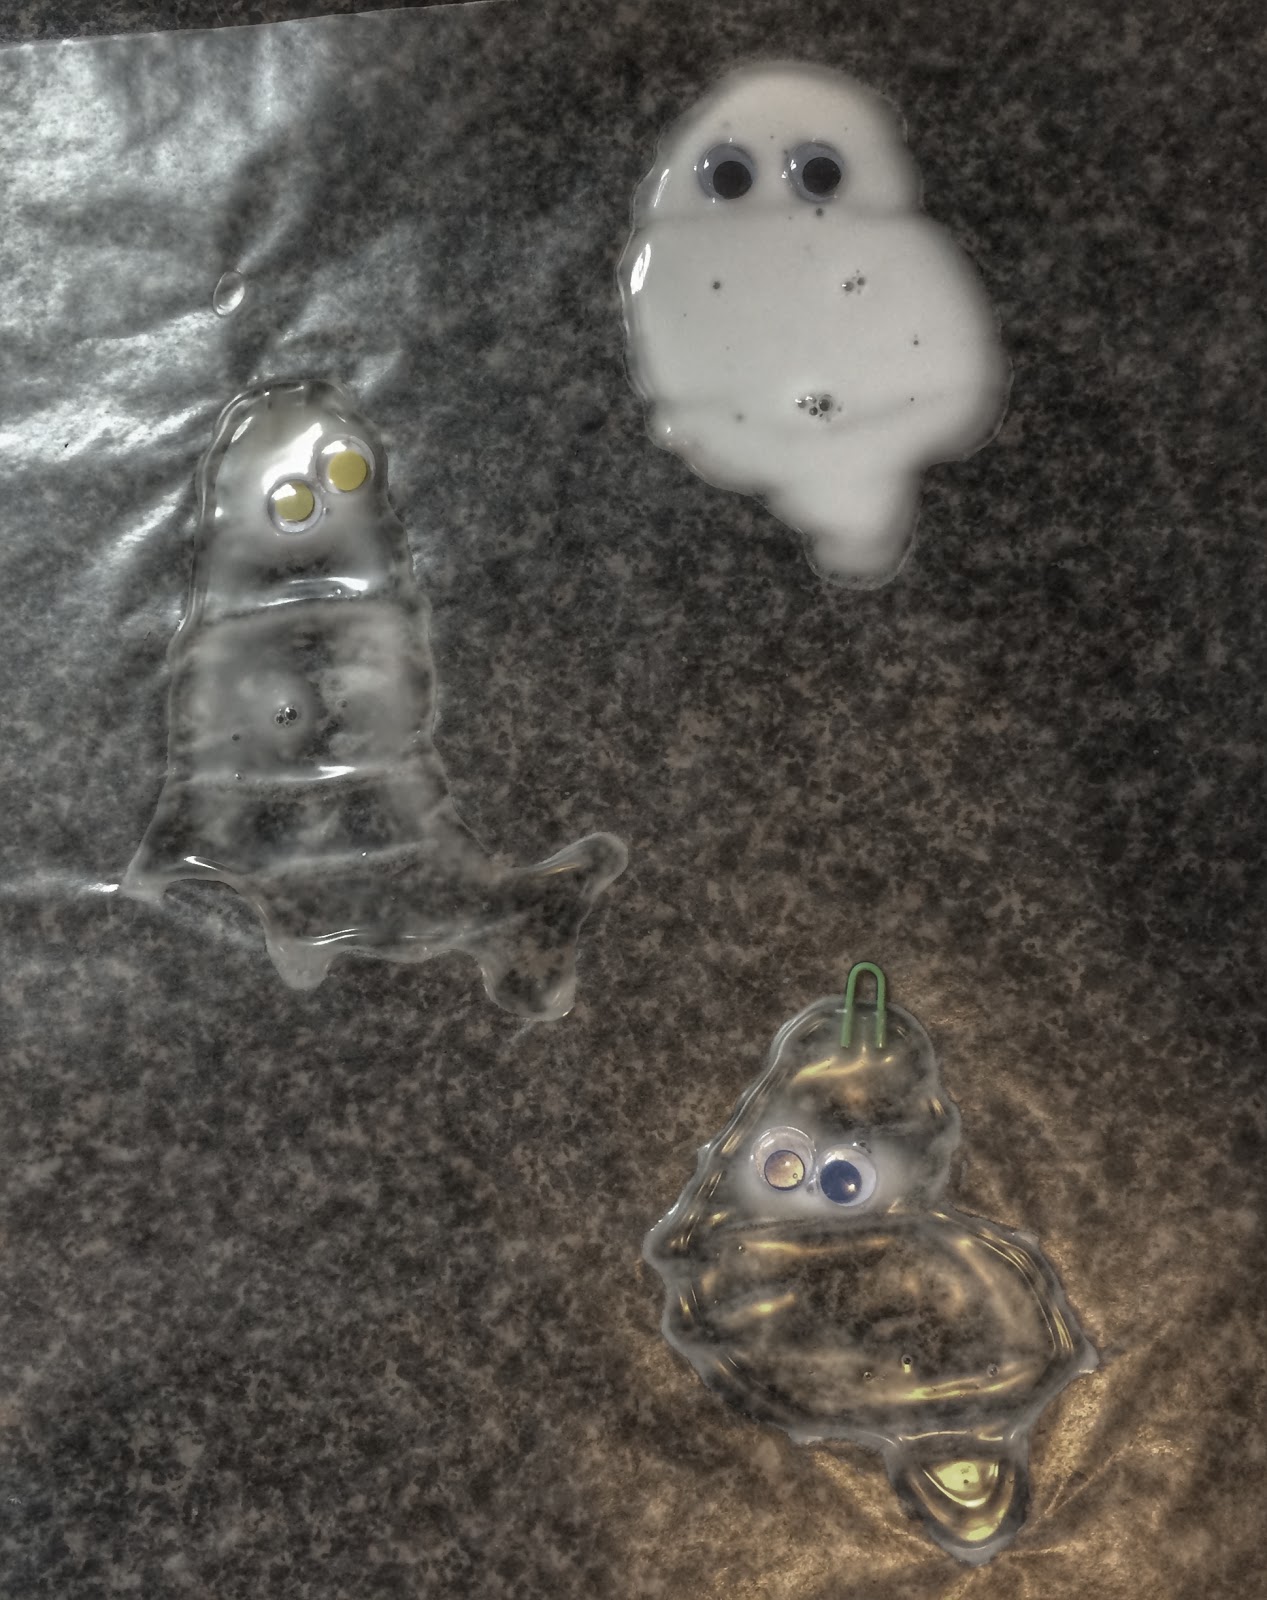
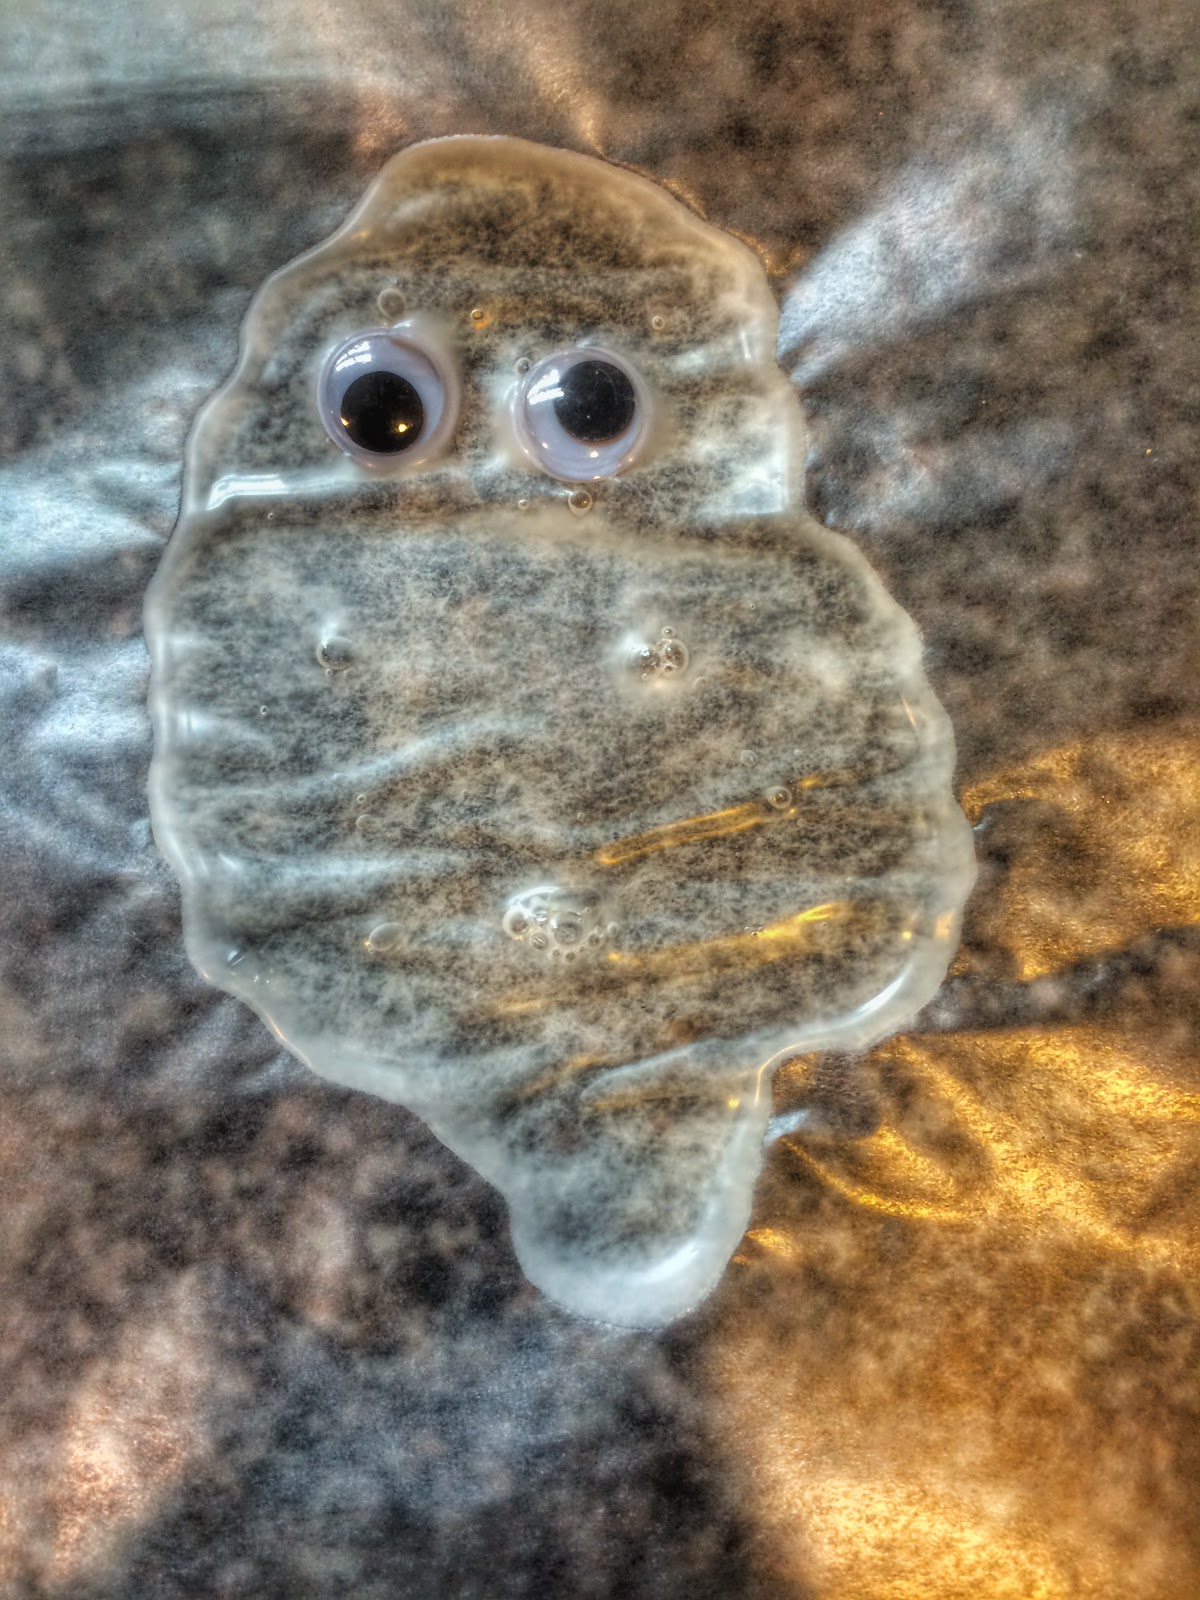
Next, have your little one squeeze out blobs of glue into ghost shapes.
Wait a few hours for the glue to dry a bit and then gently press in some googlie eyes. If you don't have googlie eyes, don't worry...you can always draw a face on the ghosts after they dry with a permanent marker.


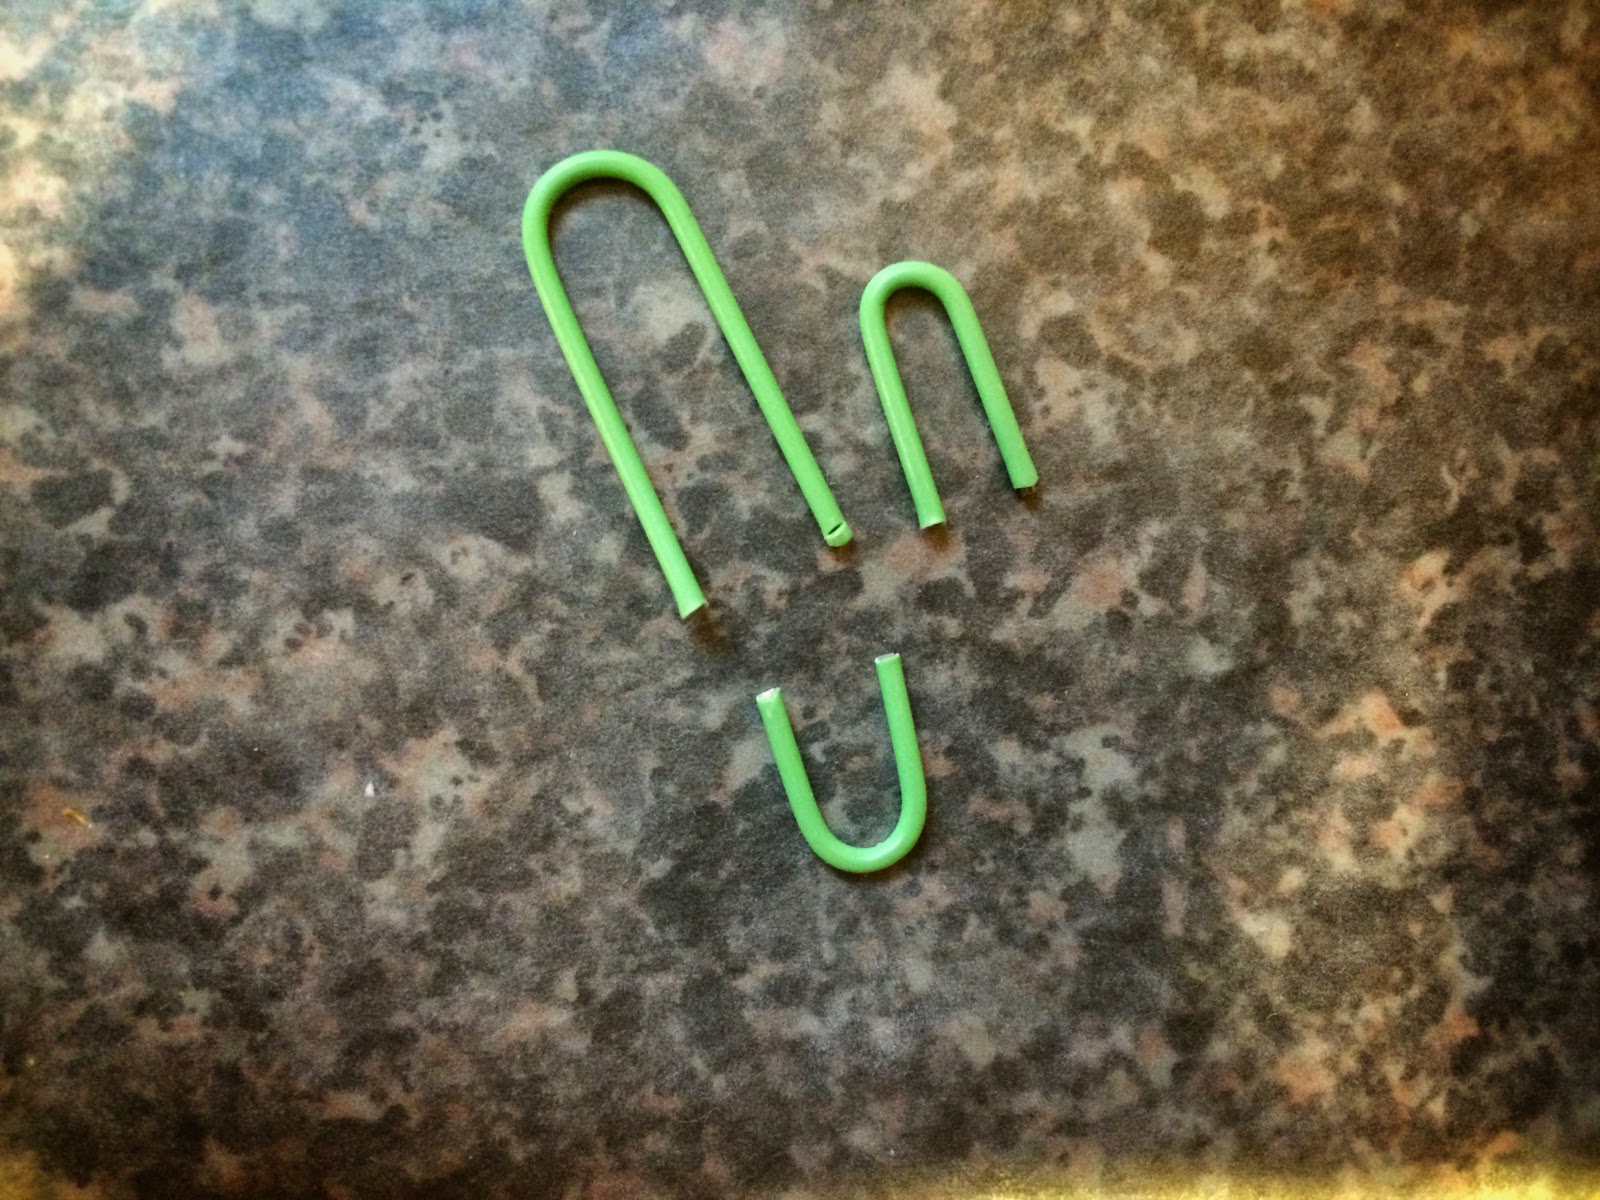
At this point, you can also cut a paperclip and press the wire into the ghosts to make hooks. We experimented with this and I personally like the ghosts better without the paperclip-hooks. Instead, you can just use a needle to poke a hole through the ghosts after they're dried. It's up to you though..both methods work great!
Now for the waiting-game...wait 2 or 3 days for the ghosts to dry completely before gently peeling them off the wax paper. If you didn't use paperclip-hooks, now is the time to use a sewing needle to thread some string or floss through your ghosts.
All done! Super easy, huh? Will you wear your "glue ghosts" on a necklace or hang them up in a doorway this Halloween? Enjoy!!!


No comments:
Post a Comment